Substrate diagnosis
.jpg)
How to Diagnose Substrates
Substrate diagnosis isn't just a preliminary step – it's the cornerstone of every successful filler application. Whether you're filling cracks in masonry, preparing interior walls for paint, or repairing damaged plaster, understanding your substrate determines your outcome.
What is a substrate?
A substrate is the underlying surface or material to which a filler is applied. It is the base layer that serves as the foundation for the repair or finish, and its condition is critical for the proper adhesion and durability of the filler.
What is substrate diagnosis?
It's a systematic assessment of five critical substrate conditions: hardness, cohesion, cleanliness, soundness, and moisture content. By identifying and addressing problems at the substrate level, you eliminate the root causes of filler failure: adhesion loss, cracking, blistering, and premature deterioration.
This guide walks you through Toupret's proven diagnostic method with practical on-site tests. You'll learn to identify substrate problems and discover the exact solutions – from wall hardeners to damp treatments – that restore substrate integrity before you apply filler. The result? Flawless finishes, zero callbacks, and genuine competitive advantage.
Why Substrate Diagnosis Matters
Every day, professionals encounter surfaces that look ready for filler but fail weeks or months later. A painted wall develops blisters. Filler separates from masonry. A smooth finish becomes rough and cracked. These failures could have been prevented with a 10-minute substrate diagnosis performed before filling began.

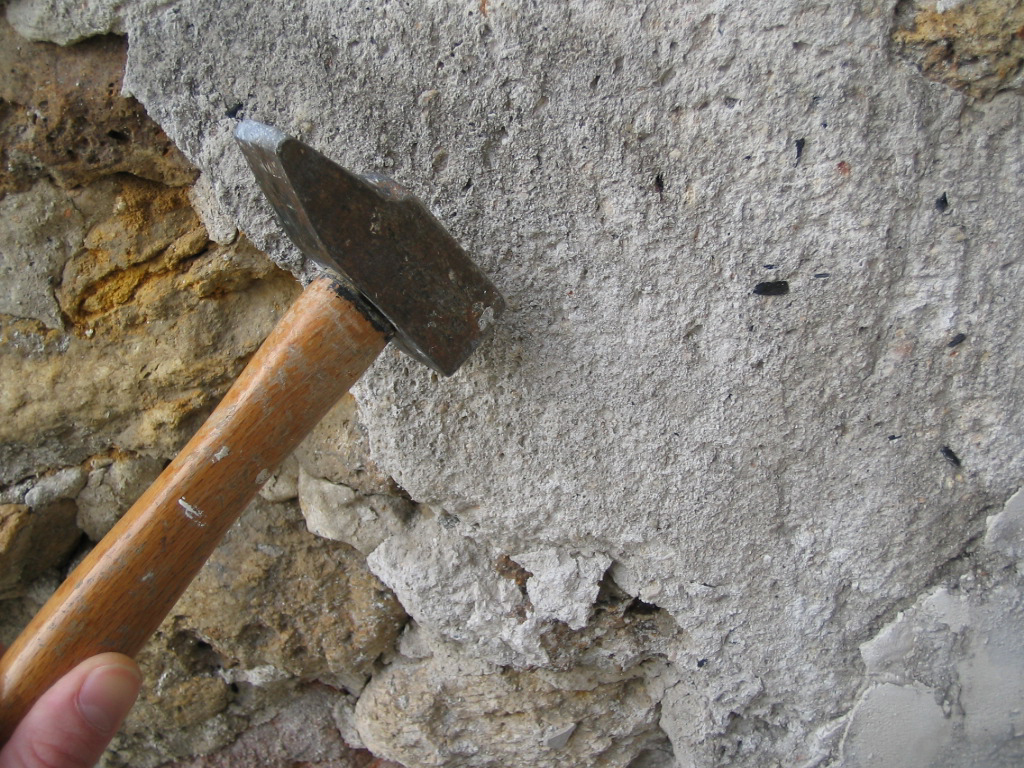
1. Hardness
The test: Use a screwdriver on hard surfaces (concrete, brick, masonry) or your fingernail on softer ones (plaster, cork). If you press your thumb on the surface, it should not move. If you can easily penetrate the substrate, it's too soft.
Why it matters: Soft substrates won't offer filler adhesion as it shrinks during setting.
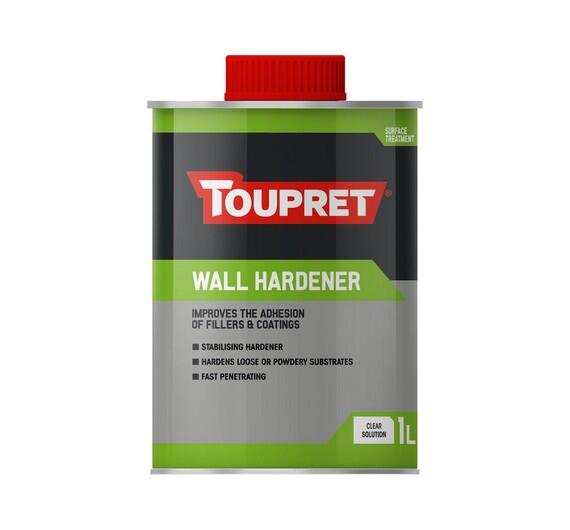
Solution: Apply Toupret Wall Hardener to stabilize soft substrates before filling.
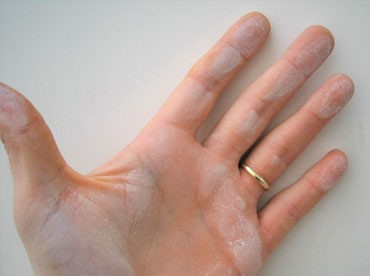
2. Cohesion
The test: Brush the surface with a dry cloth or your fingers. If powder comes off the surface and onto the cloth, you have a lack of cohesion.
Why it matters: Non-cohesive substrates will crumble and fail, taking your filler with them. Filler will adhere to chalk, and the chalk in turn detaches from the surface.
Solution: Remove all loose debris by scraping or sanding, then apply wall hardener to stabilize remaining soft areas before filling.

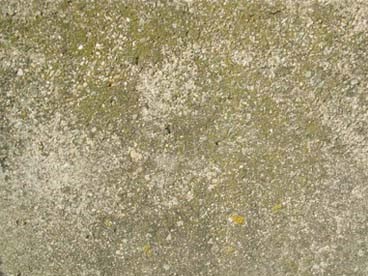
3. Cleanliness
The test: Look for stains, deposits, and contamination (grease, old paint, glue, salt deposits). Run your palm flat across the surface – it should feel clean.
Why it matters: Contaminants block the physical and chemical bond between filler and substrate, causing separation. They may also bleed through the filler, causing unsightly spots.
Solution: Remove all deposits by scraping, sanding, or washing, depending on the contaminant type. Ensure the surface is completely dry before filling.
4. Sound
The test: A sound surface is one that is bound to the underlying structure. Loose or hollow patches should be removed.
Why it matters: Unsound substrates may move and crack, causing the entire system to fail.
Solution: Remove any signs of map cracking, loose plaster/render, spalling, and sagging material.

5. Dryness
The test: Look for damp patches, efflorescence (white chalky deposits), and mold. Press your hand against the surface – it should feel dry, not cool or damp. Use a moisture meter if concerned (aim for below 15% moisture content). Why it matters: Moisture trapped beneath filler causes blistering, adhesion loss, and mold growth.
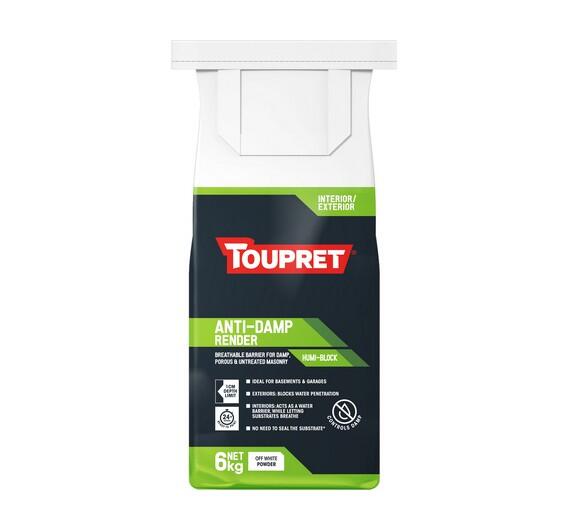
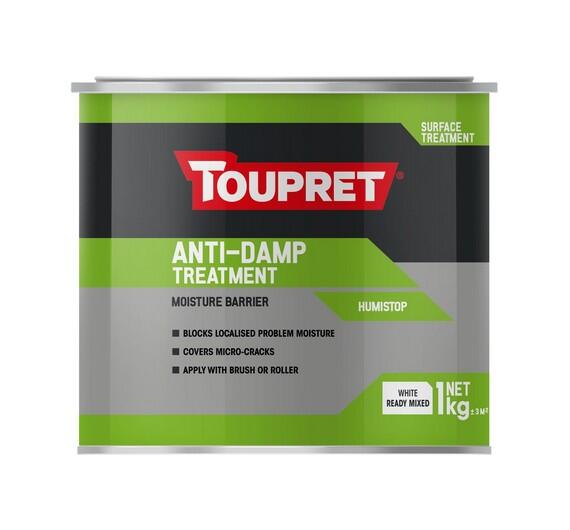
Solution: Allow natural drying if possible, improve ventilation, or apply Toupret Anti-Damp Treatment (moisture barrier) or Anti-Damp Render (breathable skimcoat for damp masonry).
The professionals who deliver flawless results consistently share one practice: they diagnose before they fill. They invest time in understanding their substrate, identifying problems, and planning appropriate solutions. By systematically assessing hardness, cohesion, cleanliness, soundness, and dryness, you gain complete control over your filler application outcome.
Anti-Damp Render
Breathable barrier for damp, porous & untreated masonry.
Anti-Damp Treatment
Moisture barrier.
Wall Hardener
Stabilised the substrate and improves the adhesion of fillers & coatings.