



How to Smooth Over Wood Grain Before Painting
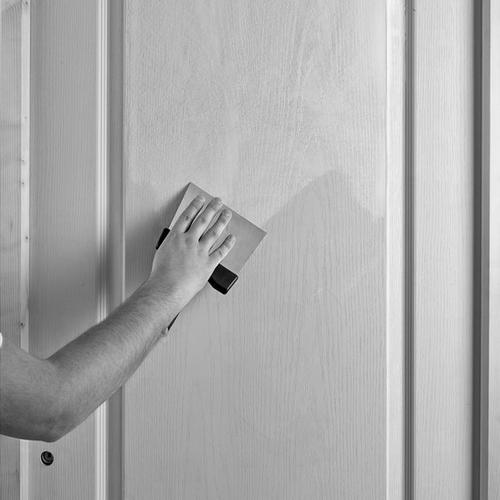
Most of the wood around your home- doors, skirting boards, staircases, furniture- has a visible grain running through it. On some timbers, that's barely noticeable once painted. On others, particularly oak and ash, the grain is much more pronounced and can still show through even after a coat of paint, especially if you're after a smooth, furniture-grade finish.
Standard paint systems tend to accentuate this texture rather than hide it. Softwoods like pine can also show grain after decoration, but the surface is different and doesn't usually need traditional grain filling.
Where a perfectly smooth finish is required, fill the grain before priming and painting using a suitable grain filler or high-build surfacer. This gives you a flat, uniform surface so the grain doesn't show through the finished paintwork.
Why does grain show through paint?
Wood grain is made up of alternating bands of harder and softer material. The softer bands absorb more paint and sit lower, while the harder bands absorb less and sit higher. That's what creates the texture you see under a painted finish, a pattern of tiny ridges and valleys that no amount of paint will level out.
On new timber, the grain is open and needs filling before any decoration if you want a smooth result. On previously painted woodwork that's been stripped back, the grain is exposed again and the same problem returns. Sanding alone won't close the grain, it removes material evenly, so the texture stays. You need a filler that fills the valleys without building up on the ridges.
Step 1: Prep - Sand and Stabilise
Start by sanding the timber with medium-grit sandpaper (P120) to create a smooth, even surface and remove any raised fibres. Sand along the grain, not across it. Brush off all dust.
If the timber is porous, absorbent, or has been stripped back and feels dry, apply Wood Hardener to seal and stabilise the surface. This gives the filler a consistent base to adhere to and prevents the timber from drawing moisture out of the filler too quickly. Apply Wood Hardener directly to the affected timber using the brush supplied in the screw top lid. Work it liberally into the wood, paying particular attention to end grain and any areas where the timber is soft or rotten. It can be applied to dry or damp wood, but not soggy wood.
On sound, firm timber that is not excessively porous, you can move straight to filling.
Step 2: Fill and Finish - Fill the Grain
Wood Filler is a fine-textured filler that works into open grain without building up excess material on the surface. It is available in two colours: off-white and natural wood.
Apply a thin coat across the full surface using a filling knife, working it into the grain with firm pressure. The aim is to push filler into the valleys of the grain while scraping the excess off the higher ridges. Work along the grain in long, even strokes.
On heavily grained timbers like oak, you may need two coats. Apply the first, allow it to dry, sand lightly with fine-grit sandpaper (P180), then apply a second coat to catch any remaining open grain.
Once the final coat is dry, sand the entire surface lightly with fine-grit sandpaper. The surface should feel completely smooth to the touch with no visible grain texture. Run your hand across it - if you can feel any open grain, apply another thin coat to those areas and sand again.
The timber is now ready for painting. With the grain filled, the paint will sit on a flat, uniform surface and the finished coat will look smooth and consistent across the whole piece.