How to Repair Damaged and Blown Render

Blown render is render that has lost its bond with the wall behind it. It sounds hollow when you tap it, it may be cracked or bulging, and sooner or later it will fall off. Damaged render, whether caused by impact, frost, or age, creates holes and weak spots that let water straight into the wall. Both need cutting out and repairing properly, not just patching over. It is a straightforward repair to take on, though. With the wall cut back properly and the right filler, you can put it right yourself.
Edges take the most punishment. Corners, reveals, sills and the base of a wall are all prone to knocks, so damaged render usually shows up there first. Check them closely before you start.
How do you know if render is blown?
Tap the wall with your knuckles or the handle of a scraper. Sound render gives a low, dull thud. Blown render sounds hollow and higher pitched. What you are listening for is the change from one sound to the next. The density and thickness of the substrate can vary the pitch, so it is the variation as you tap across the wall that tells you where the render has lost its bond. You might also see cracks running through the surface, bulging sections where the render has lifted away from the masonry, or areas where it crumbles when you press on it. All of these mean the render has lost its bond and needs to come off.
It is tempting to just fill over the cracks and paint it. Do not. If the render is blown, filling over the top does nothing. The render will keep moving, the filler will crack, and the whole section will eventually come away. The only fix is to remove the blown render back to where it is still firmly bonded, then rebuild. The good news is that this is a patch repair, not a full re-render. Once you have cut back to a sound edge, filler will rebuild the damaged area.
Step 1: Prep - cut out and stabilise
Using a chisel and hammer, or a multi-tool, cut out all the blown and damaged render. Keep going until you reach render that is solidly bonded to the masonry behind it. You want a clean, firm edge all the way around the repair. Do not leave any hollow or loose render in place.
Once you have cut back to solid material, brush out all dust, debris, and loose mortar from the exposed masonry. Clean off any dirt, moss, or algae.
If the exposed masonry or the edges of the remaining render are porous, powdery, or soft, apply Wall Hardener to stabilise everything. Work it into the masonry and around the edges of the sound render with a brush. Give it 24 hours to dry before filling.
Step 2: Fill - rebuild the surface
Choose the right filler for the depth of the repair. Masonry Repair Filler is made for this kind of work, rebuilding sections of exterior masonry and render.
Tough Multi Filler is a versatile option that handles a wide range of depths and repair types. For areas that need maximum strength, Rock Solid Repair Filler gives you a hard, durable fill.
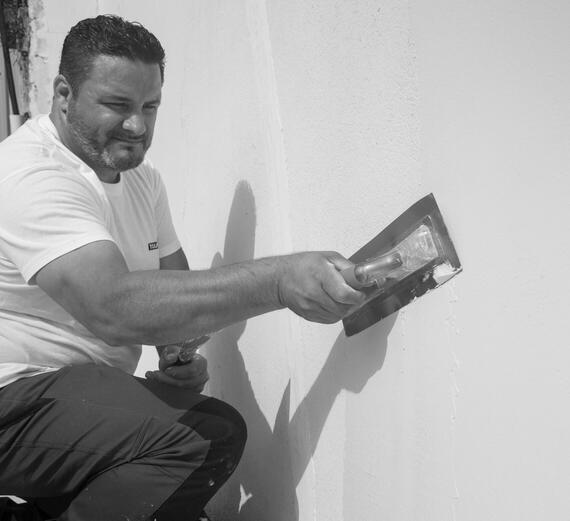
Using a filling knife, or a wider filling blade or trowel on larger repairs, apply the filler into the repair. Press it firmly against the exposed masonry to get a solid bond. On a small repair, work from the back of it forward so there are no air pockets or voids behind the fill. On a larger patch, work across the area in sections, keeping firm pressure throughout so the filler stays in full contact with the masonry. Build it up flush with the surrounding render. Because the filler has no depth limit and will not slump, check the mixing ratios on the pack for consistency, and you can fill even deep repairs in one pass rather than building up in thin layers.
Step 3: Finish - skim and seal
If you are not skimming the repair, and the surrounding render has a texture, shape the filler to match while it is still setting. Sponging, brushing, stippling, or roughening with a trowel will get you close to most render finishes.
Once the fill has fully set, the repair is done. For a finish that ties the repair seamlessly into the surrounding wall, apply a skim coat over the top and feather it out beyond the edges of the repair.
Toupret Skimcoat Filler gives you control over the consistency, useful for blending larger repairs into the surrounding render. Toupret Skimcoat Filler Ready to Use does the same job without the mixing. For a lacquered skim, Tough Multi-Filler can also be used.
Apply with a filling knife or a wider blade or trowel on larger repairs, in long, even strokes. Feather the edges out well onto the sound render so there is no visible line where the repair starts and stops. If the wall is textured, shape the finish coat to match while it is still setting.
Let it dry fully. The repair is now solid, sealed, and ready for an exterior paint system.