



How to Skim New Plasterboard By Hand
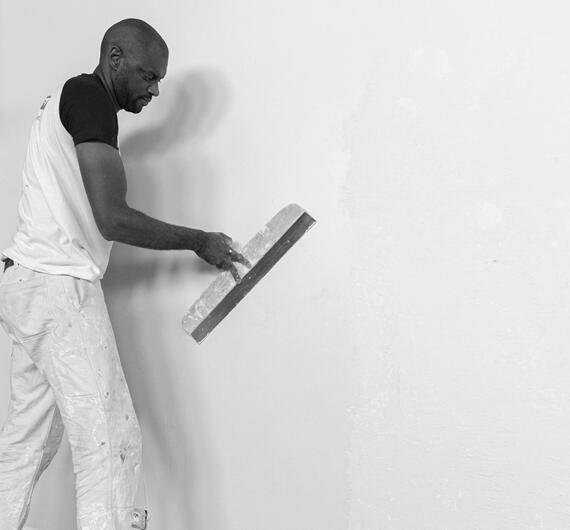
Once plasterboard is installed, taped, and jointed, the surface is generally ready for painting. Though for a higher level of finish, there's an extra step in the process. Here is how to skim new plasterboard by hand to create the highest quality, paint-ready finish.
2 3
Why skim new plasterboard?
New plasterboard is a paint ready surface, but it may contain imperfections and irregularities on the surface, where the jointing has been done, which may show through paint.
Under certain lighting, especially side light from windows or downlighters, these differences show through as visible lines, patches and texture changes. A skim coat over the whole surface evens everything out and gives you a consistent base that takes paint uniformly.
For this reason, some worksites specify plastering over new plasterboard to achieve a higher quality finish, though using a skim filler is a quicker, easier alternative which achieves the same high-end result.
Step 1: Prep – check the surface
Before you skim, make sure all joints are fully set, sanded, and level. Check that all screw heads are filled and sanded flush. Run a broad tapping knife or trowel across the joints to feel for any high spots or ridges and look for defects. Sort these now, because a skim coat will not hide these defects.
Dust the surface down with a brush. The board should be clean, dry, and free of loose material.
Step 2: Apply the first coat
Using a broad filling knife, roller or trowel, apply the first coat of Renovation Skimcoat across the full surface in long, even strokes. Work section by section and keep a wet edge to avoid visible joints between passes. This coat is about building a consistent layer over the whole board, so the paper face, the joints and the screw fills all sit under the same surface.
Do not overwork it. Apply it, level it, and move on to the next section. Repeated passes create ridges.
If you are using a roller, load the filler onto a short-pile roller either from a tray or directly from the tub. Pre-wetting the roller and removing any loose lint will help it pick up product more effectively. Apply a generous amount of filler, as any excess can easily be spread across the surface.
Roll the filler onto the wall in manageable sections using a mix of vertical and horizontal strokes, just as you would apply paint. While the filler is still wet, smooth and level the surface with a wide blade using long, steady strokes. For a full step by step on applying filler with a roller, read our advice blog.
Step 3: Apply the second coat
Let the first coat dry fully, then lightly sand with fine-grit sandpaper (P180) to knock down any ridges or high spots. Dust off before recoating.
Apply a second, thinner coat across the whole surface without exceeding the 5mm depth limit. This is the finish coat. Work in long, controlled strokes and feather each pass into the last so there are no visible lines or lap marks. Take your time. This coat is what paint sits on, so the smoother you get it the better the final result.
Step 4: Final sand
Once the second coat is fully dry, lightly sand the entire surface with fine-grit (P240) sandpaper. Check the surface in light. Dust off the whole surface.
The plasterboard is now finished and ready to decorate.