



How to Repair Reappearing Cracks
How to Repair Reappearing Cracks
Reappearing cracks are one of the most frustrating problems on interior walls and ceilings. They're caused by movement in the substrate, which isn't unusual in any property. Buildings naturally shift and settle over time.
Why do cracks keep coming back?
Cracks reappear because the substrate is moving. This movement can be caused by thermal expansion and contraction, moisture changes, settlement in the building structure, vibration from high-traffic areas inside, or from nearby traffic or construction. In older properties, it's often a combination of several of these factors working together over time.
Step 1: Prep
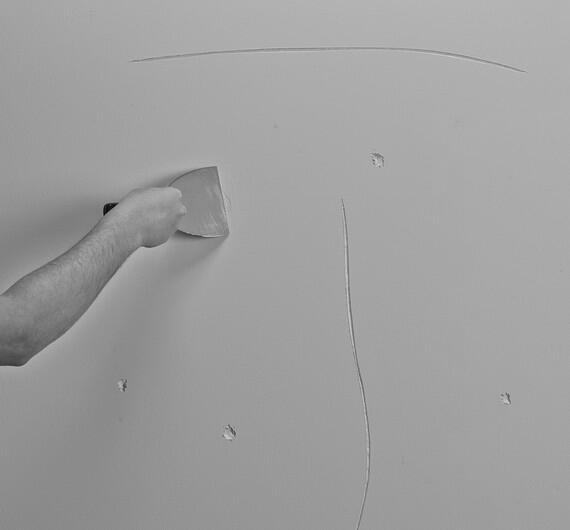
Start by removing all loose and damaged material from the crack and the area around it. Clear out any old filler from previous repairs. If a previous filler has already failed in this crack, it needs to come out completely. Use a scraper or the edge of a filling knife to get back to a clean, stable edge on both sides.
How to apply Wall Hardener
Once the crack is cleared out, brush away all remaining dust. The surface needs to be clean, dry, and sound. If the substrate is powdery, friable, or porous, apply Toupret Wall Hardener to consolidate the surface before filling for a more durable repair.
If you're unsure whether the surface needs stabilising, rub your hand or a dark cloth across the area. If it comes away dusty or powdery, or the surface crumbles under light pressure, the substrate is failing and needs treatment. This is common on older plaster where the surface has started to deteriorate around the crack.
Apply Wall Hardener liberally using a brush or roller, making sure it soaks into the full surface area.


How to apply Scrim
For added reinforcement, apply scrim over the crack before filling. Scrim provides a reinforcing layer that bridges the crack and spreads movement across a wider area, reducing the stress on the filler. This step is optional, but on cracks with significant or ongoing movement it adds an extra layer of protection against the repair failing.
There are two options. Self-Adhesive Scrim has a sticky backing, so you simply peel, position, and press it directly over the crack. Centre it over the line, press firmly, and make sure it sits flat against the surface with no bubbles or wrinkles.
Fine Scrim is a non-adhesive mesh, so it needs to be held in place before filling. Apply a thin coat of filler or paint over the crack area, press the scrim into it while still wet, and smooth it flat. Once it's bonded, you can fill over the top.
Both do the same job. Choose whichever suits the way you prefer to work.
Step 2: Fill
Fill-Flex is a ready mixed flexible filler designed specifically for cracks subject to movement. It stays flexible after setting and will therefore move with the substrate.
If using a 330ml cartridge, open it and place it into a caulking gun, then apply along the crack using consistent pressure, ensuring full coverage.
If using a larger tub of Fill-Flex, load your filling knife and apply Fill-Flex firmly into the crack. Press hard enough to make sure the filler reaches the full depth of the crack and adheres to both sides.
Smooth the filler to a flush finish as you apply it. This matters because Fill-Flex's flexibility makes it resistant to sanding, so you need to get the surface as smooth and level as possible during application. Use your filling knife at a shallow angle and work in long, even strokes to feather the filler out flush with the surrounding surface.
Alternatively, you can use a damp sponge or your finger along the crack to smooth it.
Step 3: Finish
Once Fill-Flex is completely dry, a skim coat can be applied across the whole surface to achieve a professional paint-ready finish.
Skim-Flex is a flexible finishing filler that stays flexible after drying, so the entire repair system, from fill to finish, can move with the substrate without cracking.
Apply Skim-Flex with a blade or wide filling knife, working it to a thin, even coat. Feather the edges out well beyond the line of the crack so the repair blends seamlessly into the surrounding wall or ceiling.
Unlike Fill-Flex, Skim-Flex can be sanded smooth.
