



How to Repair Large Holes in Woodwork
.jpg)
Large holes in exterior woodwork are common on older features, such as rotted sections of window sills, decayed areas around door frames, holes left by removed hardware, or impact damage to fascias and barge boards. If the surrounding timber is still sound, a filler repair is a practical alternative to replacing the whole section. Here's how to prep, fill, and finish large holes in exterior woodwork for a lasting repair.
What counts as a large hole in wood?
Any hole in exterior woodwork that goes beyond a surface scratch or hairline crack. That includes rotted-out sections where soft timber has been removed, holes from removed screws, bolts, or fixings, impact damage where timber has splintered or broken away, and areas where
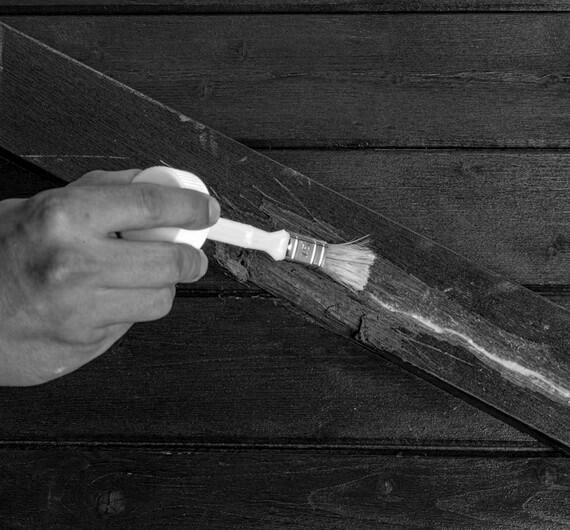
Step 1: Prep - Remove Damage and Harden
Start by cutting out all soft, rotten, or damaged wood. Use a chisel, scraper, or multi-tool to remove everything that is no longer solid. Keep going until you reach firm, sound timber on all sides. Any soft wood left behind will continue to deteriorate and the repair will fail.
Brush out all dust, debris, and loose material from the hole. The timber surfaces you are filling against need to be clean, dry, cohesive and sound.
Apply Wood Hardener to all exposed timber within the repair. This penetrates and consolidates soft or porous wood fibers, creating a solid base for the filler to bond to. Apply liberally with a brush, working it into the grain and paying particular attention to end grain where the timber is most absorbent. Allow to dry fully before filling.
Step 2: Fill - Fill the Hole
Wood Repair Filler is a high-performance powder filler formulated specifically for repairing, rebuilding, and restoring wood surfaces.
Mix the powder with water to a thick, workable consistency. A thicker mix gives you better control when packing out deep holes.
Using a filling knife, apply the filler firmly into the hole, pressing it hard against the hardened timber to ensure a solid bond. Take your time to build it up accurately. You have a 30-minute working time once the product is mixed, so there is no rush to get the filler in before it goes off. Work from the back and sides of the hole outward, making sure there are no air pockets or voids behind the fill. Air pockets will cause the repair to feel hollow and can lead to cracking as the wood moves.
During application, shape the filler with a blade to match existing profiles.
Once fully set, sand back to bring the repair flush with the surrounding timber. Start with a coarse grit to remove excess material, then work through to a medium grit to smooth the surface.
Your hole is now fixed and ready to be overcoated.
 (1).jpg)
Step 3: Finish - Ultimate Paint-Ready Finish
Once the repair has been completed, if you want to achieve a premium, paint-ready finish, apply Wood Filler or a final coat of Wood Repair Filler over the repaired area as a finishing coat.
Apply a thin coat over the entire repaired area with a filling knife, feathering the edges onto the surrounding timber so there is no visible line between the repair and the original wood.
Allow to dry fully, then sand with fine-grit sandpaper (P180 or higher) to achieve a smooth finish. Check the surface by running your hand across the repair.