



How to Repair Damp Walls After Water Damage
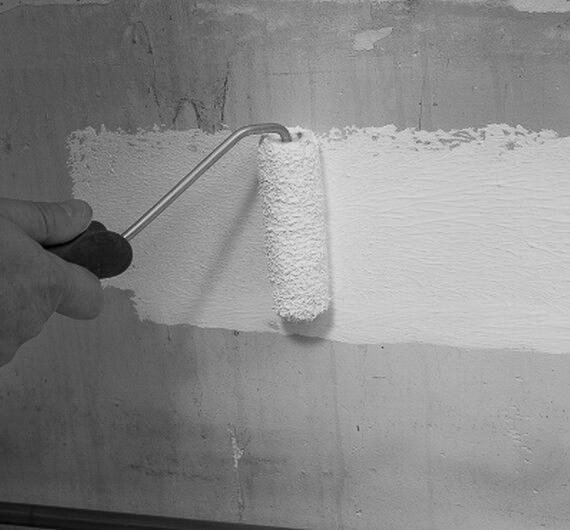
Once the source of the moisture has been fixed, there may still be residual moisture within the walls that can take weeks to dry out completely. In some cases, it's simply not practical to wait for this process to run its course. Severe or long-term water damage can leave behind a range of issues, including blown plaster, peeling paint, efflorescence and swollen or expanded plaster. In these situations, a damp sealer provides an effective solution, helping to prepare affected surfaces for redecoration while preventing residual moisture from causing further problems.
Why you cannot just paint over it
Even after the leak is fixed, moisture stays in the substrate for weeks or months. As it dries, discoloration can show on the surface. The stain pushes through, the paint discolors, and the finish fails. Water trapped behind a new coat of paint can cause it to peel and flake.
Step 1: Prep - seal the residual damp
Start by removing any loose, flaking, or damaged material from the affected area. Scrape off peeling paint, blown plaster, or anything that is no longer bonded to the wall. Get back to a bare surface that is solid enough to take the treatment.
Remove mold, efflorescence and contamination from the surface, then apply Anti Damp Treatment to the affected area. This is a ready-to-use, water-based moisture barrier that seals residual damp and prevents it from reaching the finished surface. It also covers small cracks in the substrate that would otherwise let moisture keep working through.
Apply by brush or roller directly to the area, covering the full extent of the staining and overlapping onto sound surface by at least 100mm on all sides. The surface can be damp - the product is designed for it.
Step 2: Fill - repair the damage
Once the damp is sealed, you can repair any damage the leak has caused. Blown plaster, cracks, holes from removed fixings, or areas where the plaster has been cut out - all of it needs filling before the finish coat goes on.
Using a filling knife or blade, apply your chosen filler into the damaged areas. Press it in firmly to get a good bond with the substrate and build it up flush with the surrounding surface. For deeper repairs (more than 10mm), a powder filler mixed to the correct consistency gives you more control. For smaller, shallower patches, a ready-mixed option is quicker. Either way, fill it flush and let it set fully before moving on.
Once set, sand back with medium-grit sandpaper (120 grit) to bring the repair level with the surrounding wall.
Step 3: Finish - smooth for decoration
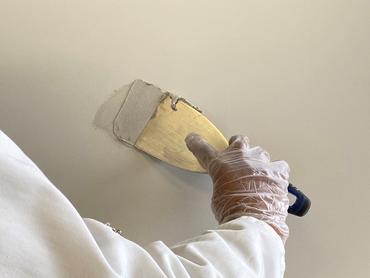
At this point the repair is done and ready for painting. For a premium, paint-ready finish, apply a finish filler or second coat over the top to smooth the surface and blend the repair into the surrounding wall.
Apply your chosen finishing filler over the full repaired area and feather it out across the surrounding wall. This ties the sealed area, the filler repairs, and the original plaster together under one consistent surface. Apply with a filling knife or trowel in long, even strokes. Work in sections and keep a wet edge. For a second coat, let the first dry fully, lightly sand, then apply a thinner finish coat.
Once dry, lightly sand for a smooth finish. The wall is now sealed against residual damp, structurally repaired, and ready for painting or wallpapering. The stain stays buried and the finished surface will look clean and consistent.