How to Joint Plasterboard with Spray Plaster
Spray plaster jointing speeds up taping and jointing on new plasterboard. Rather than applying joint filler by hand with a filling knife, you spray the plaster straight over the joints with an airless machine and blade it off. On bigger jobs with a lot of joints to finish, that saves a serious amount of time and labor. Here is how to do it.
Why spray the joints instead of filling by hand?
It comes into its own at scale. For a single room it is probably not worth setting a machine up, but on a whole house refurbishment, a new build or a multi-room fit-out, spraying significantly cuts down the application time. The product goes on evenly, covers quickly and blades off smooth, allowing you to achieve the desired finish in much less time.
Step 1: Load the filler into the spray machine
Prime the machine with water first, then load your chosen spray plaster into the machine's bucket or hopper. Take the gun filters out so the product can flow effectively, and check the product packaging for the recommended nozzle size.
Follow the manufacturer's instructions when setting the spray machine up.
Application tools: any airless spray machine with a minimum flow rate of 5L/min. For best results with Airless Spray Plaster, we recommend a 5.31, 5.35, 6.31 or 6.35 nozzle.
Step 2: Tape - apply the joint tape
Adhesive Scrim Method
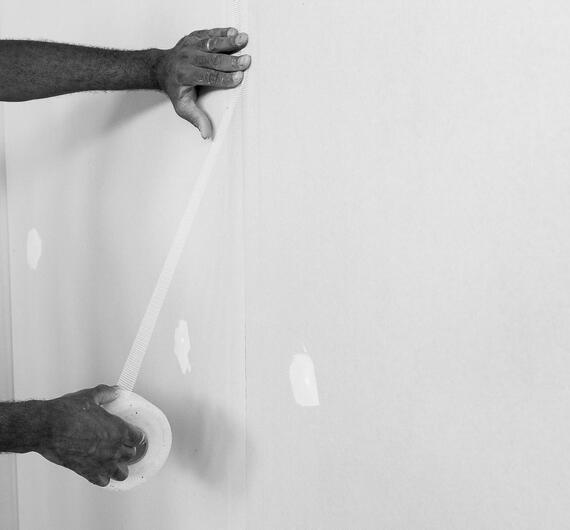
Apply adhesive scrim over all flat joints, butt joints and internal corners, following the same taping process you would on a hand-finished joint. Peel it and press it straight over the joint, center it, press it flat and make sure the edges are fully adhered. Scrim can be sprayed over immediately.
Paper tape method
Paper tape is not adhesive, so it needs a bed of filler to sit in before anything else goes on.
Spray a thin bed of filler along the joint, press the tape into it and squeeze out the excess with a filling knife. Check the tape sits flat with no air bubbles or dry spots underneath, then overcoat with a second layer of spray filler.
Either way, the taping stage is done by hand whether or not you spray the filler. The tape has to be bedded in properly before anything goes over the top.
Step 3: Fill - spray over the joints
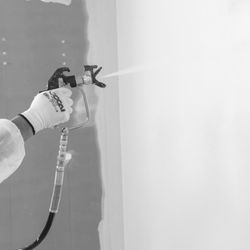
Stand square to the wall, 0.7 to 1 meter back. Keep the gun at a constant 90 degrees and work along the joint line, moving it parallel to the surface at a steady speed to build an even coat.
Then skim the filler off with a broad blade. That levels the product, feathers the edges and creates the taper that makes the joint invisible.
Let it dry fully. Apply a second coat if you need one, as soon as the first coat is hard and dry to the touch. Sand lightly between coats.
Step 4: Finish - spray the full surface
With the joints done, spray a wider area beyond them so the joint blends into the rest of the board and nothing shows through the paint.
Let it dry fully, 24 to 48 hours depending on thickness and conditions. Once dry, sand lightly for a smooth finish. The surface is then ready for painting, wallpapering or decorating, with no priming or sealing needed.