



How to Fix Hairline Cracks in Render
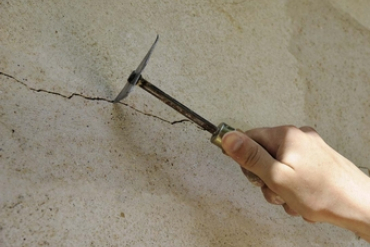
Hairline cracks in render are a common problem on exterior walls. They might look cosmetic, but left untreated they let moisture into the substrate, which leads to bigger problems down the line - blown render, damp patches, and further cracking as water freezes and expands in cold weather. The good news is that hairline cracks are straightforward to fix. A surface-level skim with the right exterior filler will seal the cracks and leave you with a smooth, paint-ready finish.
What is a hairline crack?
A hairline crack is a fine crack in the surface of the render, generally less than 1mm wide. Cracks of this width sit in the render coat itself rather than in the structure behind it, which is why they can be sealed with a surface repair rather than opened up and filled.
Anything wider than 1mm, or a crack that is stepped, continues to open up, or runs through the substrate, is a different problem and should be assessed before any filling work is carried out. This guide covers hairline cracking in otherwise sound render only. In other words cosmetic or decorative repairs.
What causes hairline cracks in render?
Hairline cracks in render are typically caused by shrinkage as the render cures, thermal expansion and contraction over seasonal temperature changes, or minor movement in the substrate behind the render. Differential movement between building materials is a significant contributor: mortar, brick, lintels and timber supports all expand and contract at different rates, and the resulting tension cracks the weakest material, which is usually the render. Settlement accounts for a large proportion of cracking in new builds. These cracks are usually surface-level and do not indicate a structural problem, but they do break the seal of the rendered surface and create a path for water to get in.
Because these cracks are fine and shallow, they do not need to be opened up or filled individually with a deep filler. The repair is a surface application - a skim coat over the affected area that fills the cracks and restores a sealed, uniform finish.
Step 1: Prep - Clean and Stabilise the Surface
Start by cleaning the wall. Remove any loose material, dirt, moss, or algae from the surface. A stiff brush will handle most of it. If the wall is particularly dirty or has biological growth, wash it down and allow it to dry fully before doing anything else. Filler will not adhere properly to a dirty or damp surface.
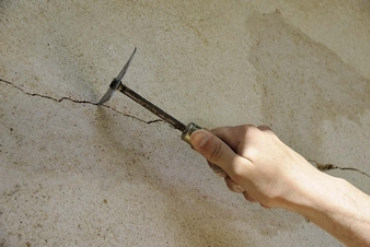
Run a scraper lightly across the area to check for any loose or flaking render. If sections are blowing or coming away from the substrate, they need to be removed back to a solid edge. Blown or loose render is a different repair and is not covered here - see our guide to repairing blown and loose render before you go any further. For hairline cracks on otherwise sound render, you should not need to remove much - just make sure there is nothing loose that will lift under the filler.
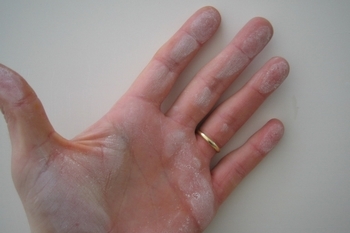
If the render is porous, chalky, or powdery, apply a wall hardener to stabilise the surface before filling. This is common on older render where the surface has started to deteriorate. Apply liberally with a brush or roller, working it into the full surface area, including into the cracks themselves. Allow to dry for a minimum of 24 hours before applying the filler.
Step 2: Fill and Finish - Fill the Cracks
For hairline cracks, the fill and finish happen in the same step. You are applying an Exterior Skimcoat Filler over the surface to fill the cracks and create a smooth, sealed finish in one process. Ready Mix Exterior Skimcoat Filler is also available for a quick no mix solution to fixing hairline cracks.
Using a filling knife, apply the filler across the affected area, working it into the cracks with firm, even strokes. Press hard enough to push the filler down into the cracks rather than just bridging over the top of them. For isolated hairline cracks, you can work along the crack line and feather the filler out either side to blend with the surrounding render.
If you need to match the texture of the surrounding render, shape the filler while it is still setting. Techniques like sponging, brushing, or stippling can be used to replicate the profile of the existing surface. Work quickly and lightly - you are creating texture, not moving the product around.
Allow the filler to dry fully before decorating. Drying time will depend on the thickness of the application and the weather conditions. Once dry, overcoat with paint to ensure a waterproof system.